How to Use Trekking Poles: A Beginner’s Guide to Better Balance and Comfort on the Trail

If you’re new to hiking, you may have noticed many trekkers carrying trekking poles and wondered if they’re really necessary. The truth is, trekking poles aren’t just for seasoned mountaineers – they’re one of the most effective tools beginners can use to hike with better balance, reduce strain on joints, and increase endurance on long trails. In this guide, we’ll break down everything you need to know about trekking poles, from choosing the right pair to using them correctly on different terrains.
What are Trekking Poles and why use them?
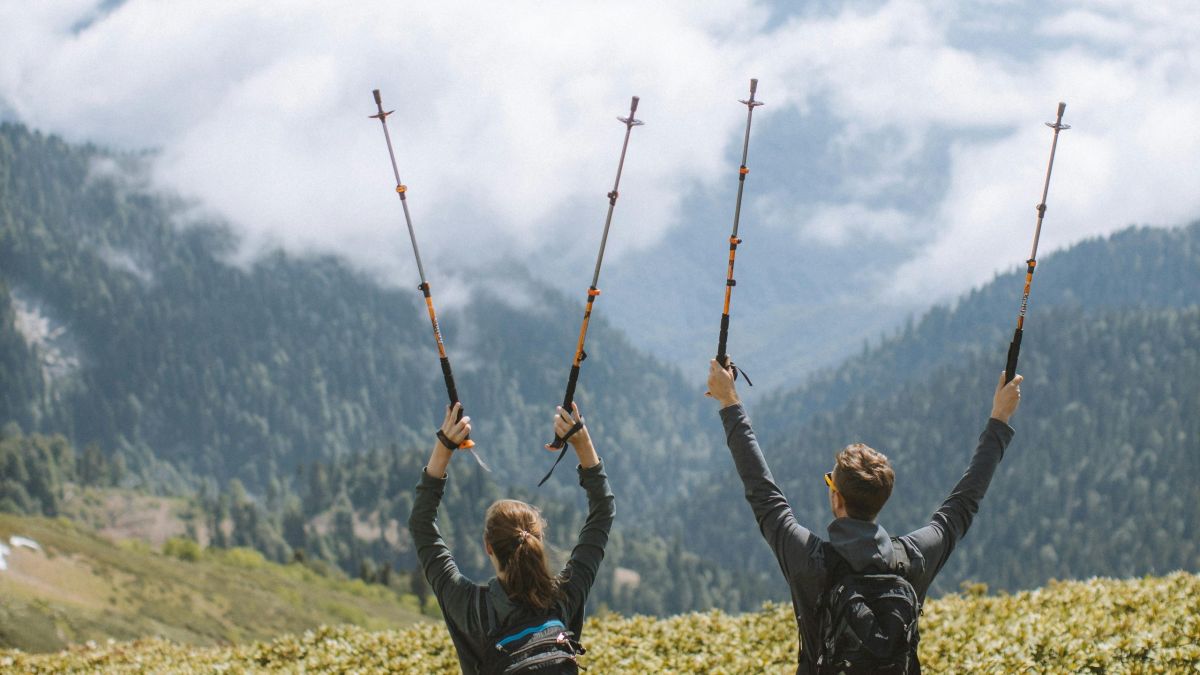
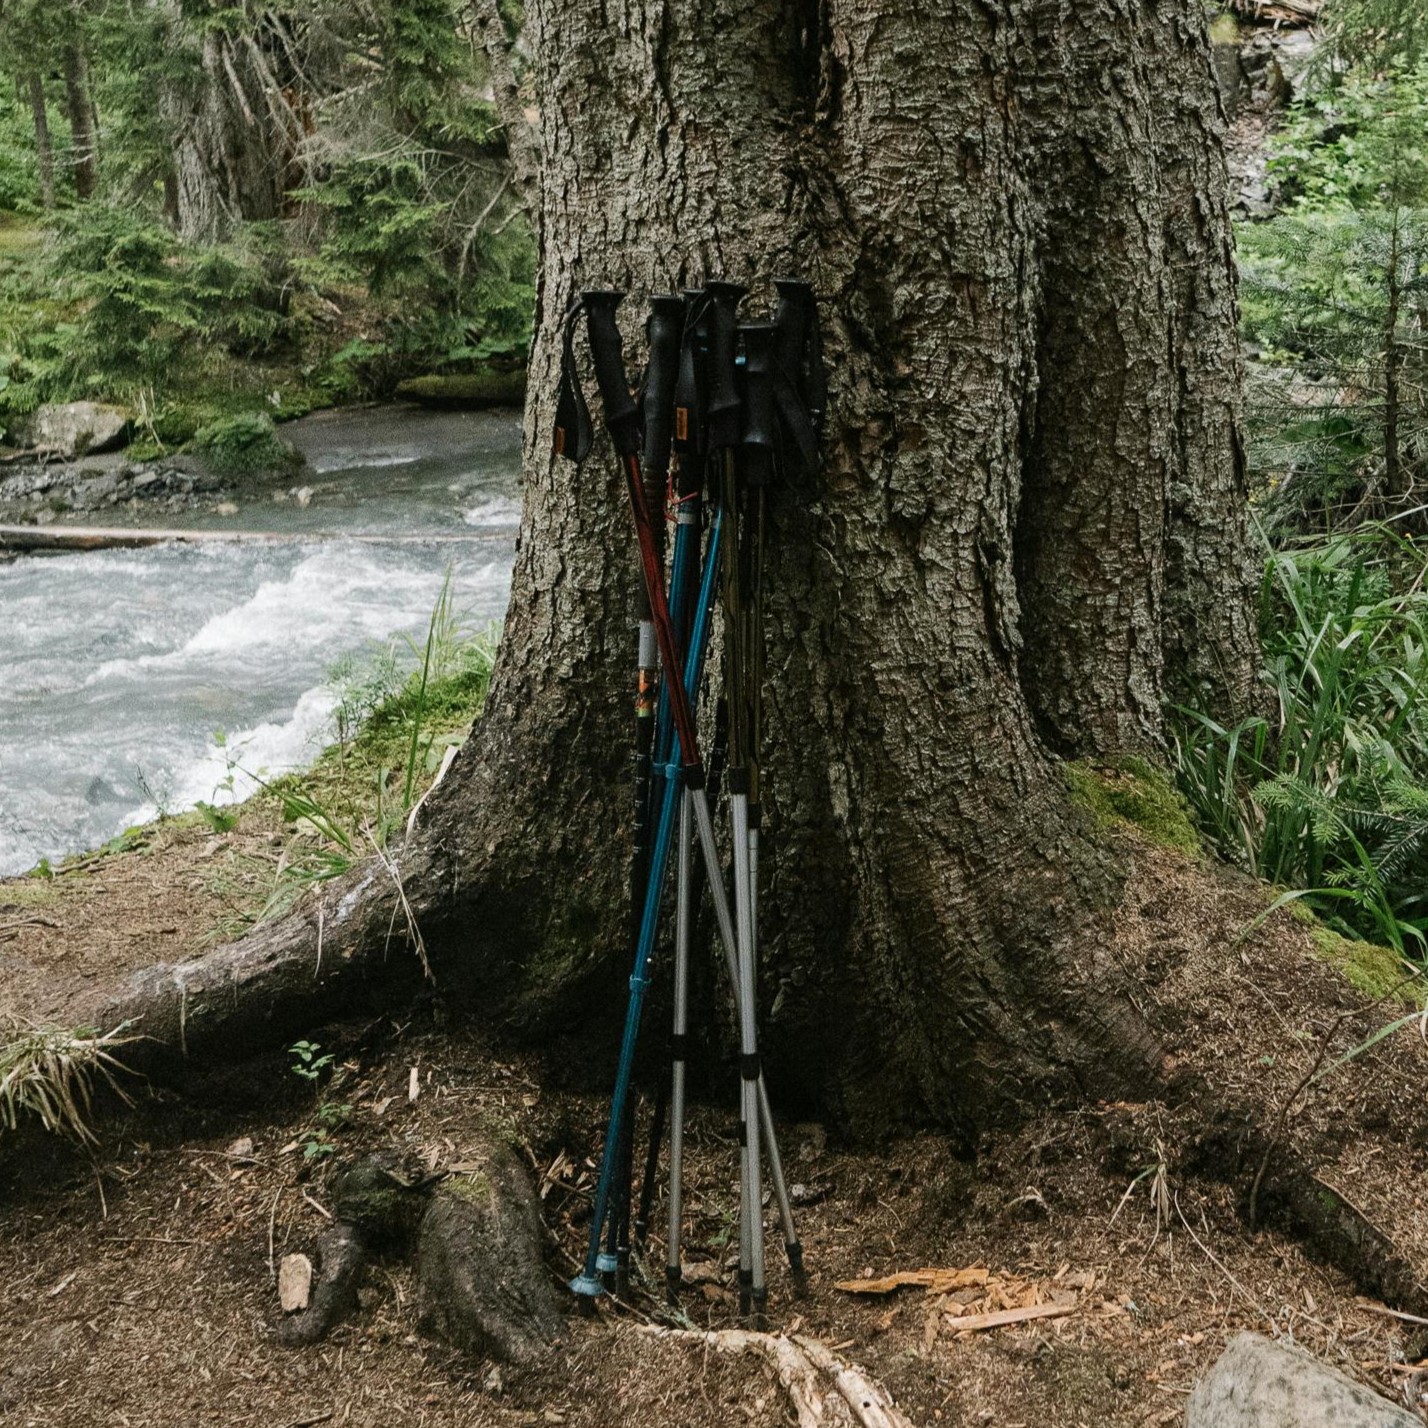
Trekking poles are lightweight, adjustable sticks designed to support hikers on uneven terrain. Unlike simple walking sticks, they’re built with ergonomic grips, adjustable lengths, and durable materials to handle steep climbs and descents.

Benefits of trekking poles include:
-
-
Improved balance and stability on rocky or slippery ground
-
Reduced impact on knees and ankles, especially when going downhill
-
-
Increased walking efficiency and rhythm
-
Extra support when carrying a heavy backpack
-
Safety and stability during river crossings or muddy trails
Choosing the Right Trekking Poles
Adjustable vs Fixed-Length
-
Adjustable poles are versatile and suitable for beginners since you can fine-tune them based on terrain.
-
Fixed-length poles are lighter and sturdier but less adaptable.
Carbon Fiber vs Aluminum
-
Carbon fiber is ultralight but more expensive and can crack under heavy pressure.
-
Aluminum poles are slightly heavier but affordable and durable.
Features to Look For
-
Grips: Cork (comfortable, reduces sweat), foam (soft and light), rubber (good for cold weather).
-
Wrist straps: Should be adjustable and padded for comfort.
-
Shock absorption: Optional spring-loaded systems can reduce strain on wrists.
-
Foldable vs telescopic: Foldable poles pack small, while telescopic poles are sturdy and adjustable.
How to Adjust Trekking Pole Length Correctly
The correct pole length helps you hike efficiently without strain.
-
General rule: When holding the pole, your elbow should form a 90-degree angle.
-
Uphill: Shorten poles by about 5–10 cm for better leverage.
-
Downhill: Lengthen poles by about 5–10 cm to improve balance and reduce knee impact.
-
Flat terrain: Keep poles at standard length for steady rhythm and support.
How to Use Trekking Poles Properly While Hiking
Basic Technique
-
Plant the pole opposite your leading foot for a natural walking rhythm.
-
Use a relaxed grip—let the straps carry some weight instead of clenching tightly.
On Ascents (Uphill Hiking)
-
Shorten poles slightly.
-
Plant poles just behind your leading foot to push yourself upward.
On Descents (Downhill Hiking)
-
Lengthen poles for added stability.
-
Place poles slightly in front to absorb shock and protect your knees.
Stream Crossings and Tricky Terrain
-
Use poles as extra “legs” for balance.
-
Place poles firmly before stepping onto rocks or into water.
Common Mistakes Beginners Make with Trekking Poles
-
Setting poles too high or too low, causing strain on arms or shoulders.
-
Gripping too tightly, which can lead to fatigue and sore hands.
-
Ignoring wrist straps, which are designed to distribute weight efficiently.
-
Dragging poles, instead of planting them purposefully with each step.
Tips for Maximizing the Benefits of Trekking Poles
-
Use rhythm: Trekking poles help create a steady hiking rhythm, making long treks easier.
-
Distribute weight: Let your arms share the load with your legs, especially with a heavy pack.
-
Keep them maintained: Clean mud and dirt off after hikes, check locks regularly.
-
Store smartly: If you don’t need them, collapse and strap poles to your backpack.
Frequently Asked Questions About Trekking Poles
- Do trekking poles really make hiking easier?
Yes, they reduce joint strain and improve stability, especially on steep or long hikes. - Are trekking poles necessary for short hikes?
Not always, but they’re helpful if the trail is uneven, slippery, or steep. - Can trekking poles be used for trail running?
Yes, many trail runners use lightweight poles for steep mountain routes.


